Change Basemap
Choose between three different basemaps to view the map: Satellite Imagery, Topographic Map and Grayscale.
This quick guide will walk you through the main controls and features of the Inclusive Campus Map. Learn how to find buildings, explore interiors, and use the map's accessibility features.
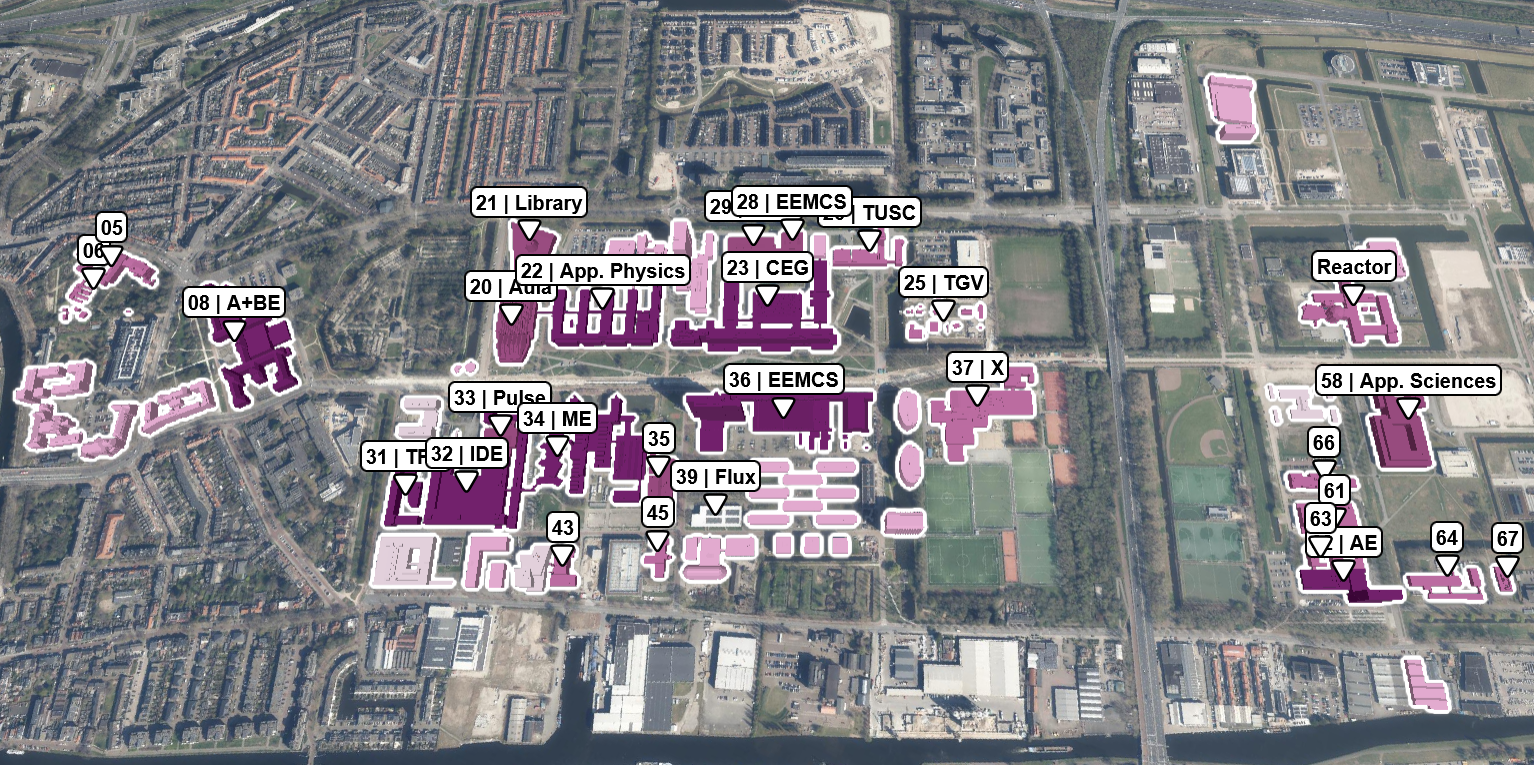
Choose between three different basemaps to view the map: Satellite Imagery, Topographic Map and Grayscale.

Select layers you want to display on the inclusive map, such as: Gender neutral bathroom, Wheelchair accessible parking or Contemplation room.

Brings you back to initial view as if newly loaded the map.

View explanation of the colour-coding for the campus buildings.


Zoom-in and zoom-out the view of the map.

When clicked first time, it will orient your map towards the North, when clicked again, it will bring you back to the previous view.

Find your location on campus. This will only work if you are on TU Delft Campus.
Switch between a top-down 2D map and an angled 3D perspective.

With the search bar you can search for a building on campus (either with its official name, number or nickname). You can also search for rooms in specific buildings.
Click on select thematic layers button and a dropdown menu will appear, allowing you to choose from various thematic layers to display on the map.
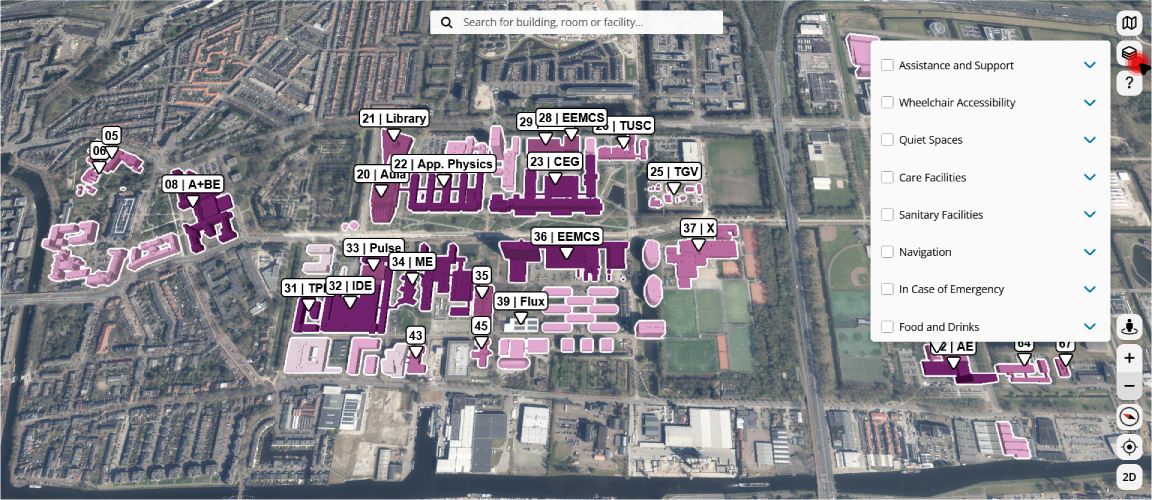
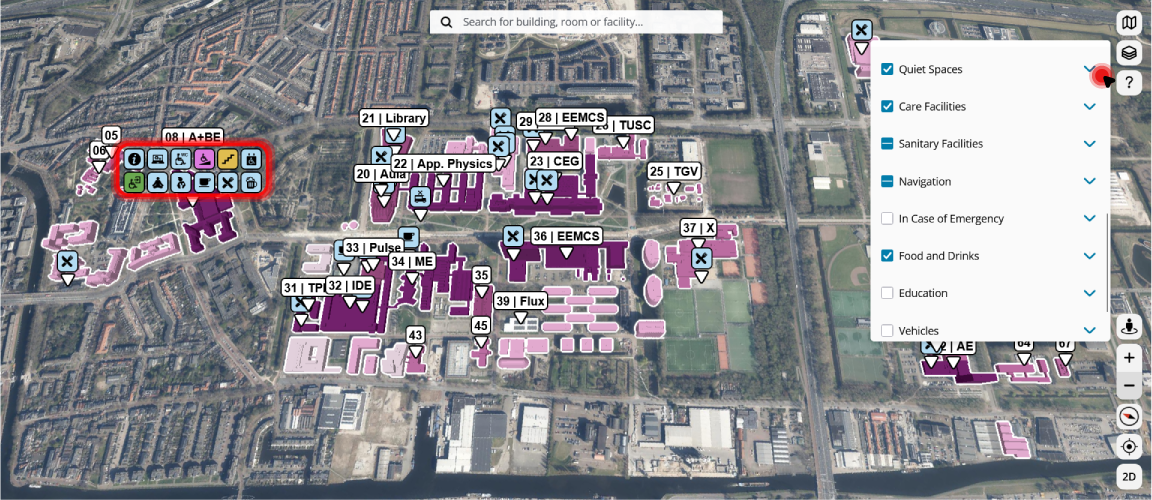
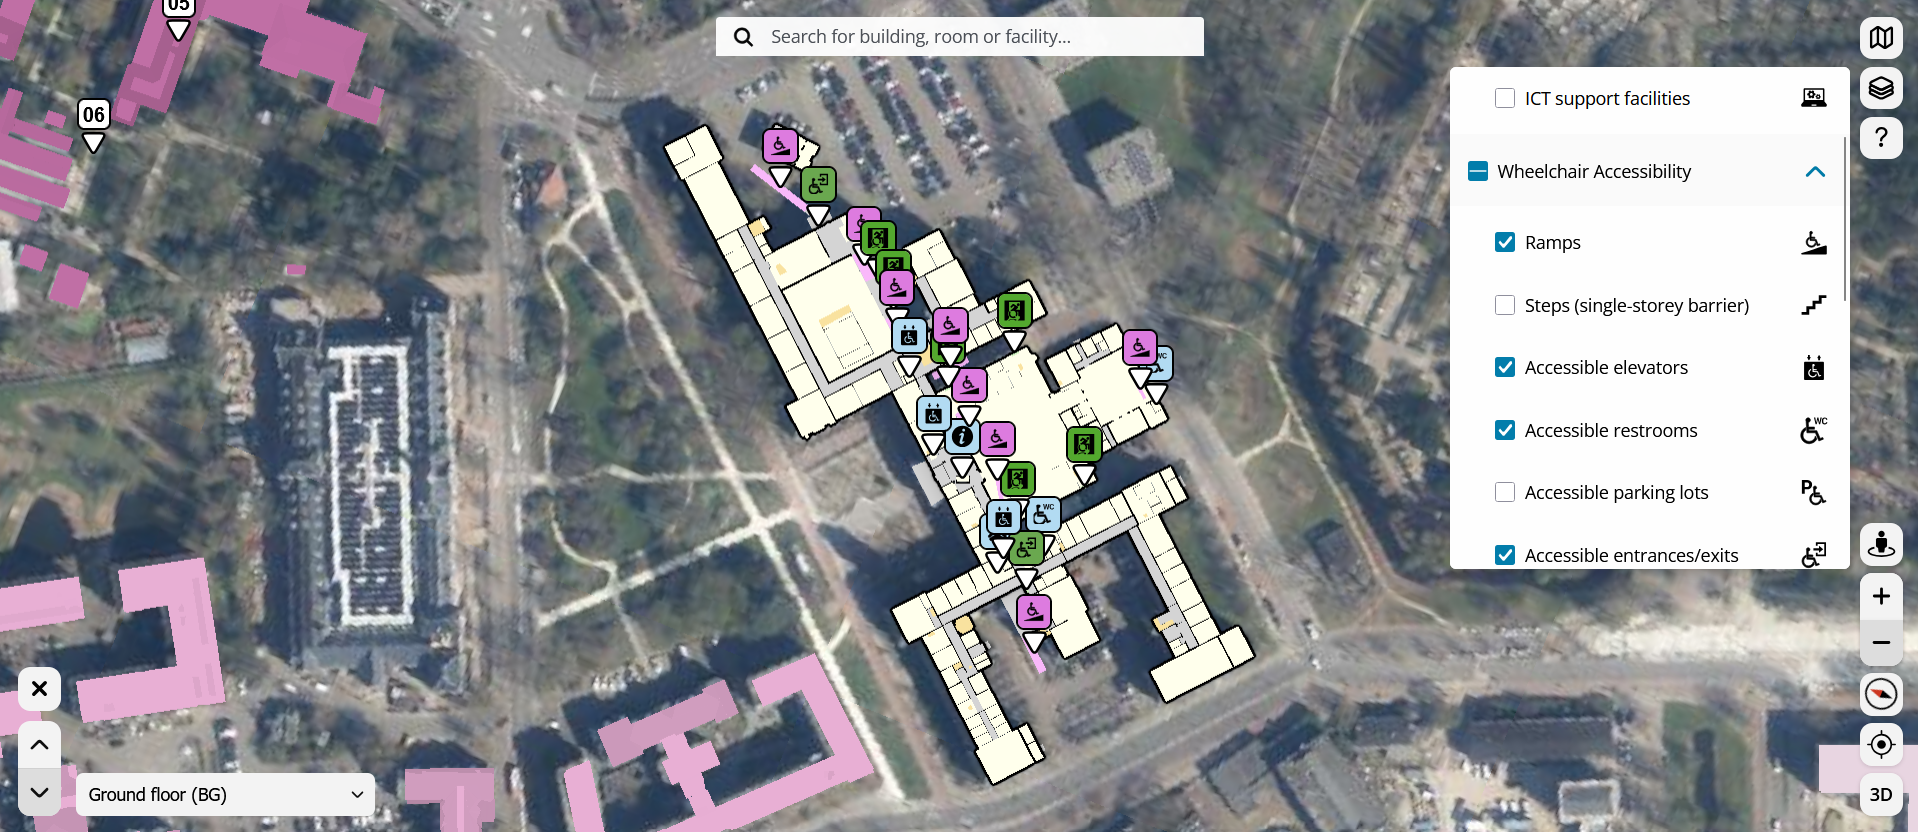
From the dropdown menu, you can expand the groups and select/deselect specific layers to display on the map, or you can select the whole groups. Relevant icons will then be shown all over the campus map.
You can also toggle the layers when in the floorplan view (how to get there, please see section below). The toggled layers will be shown on each floor and at locations where they are available.
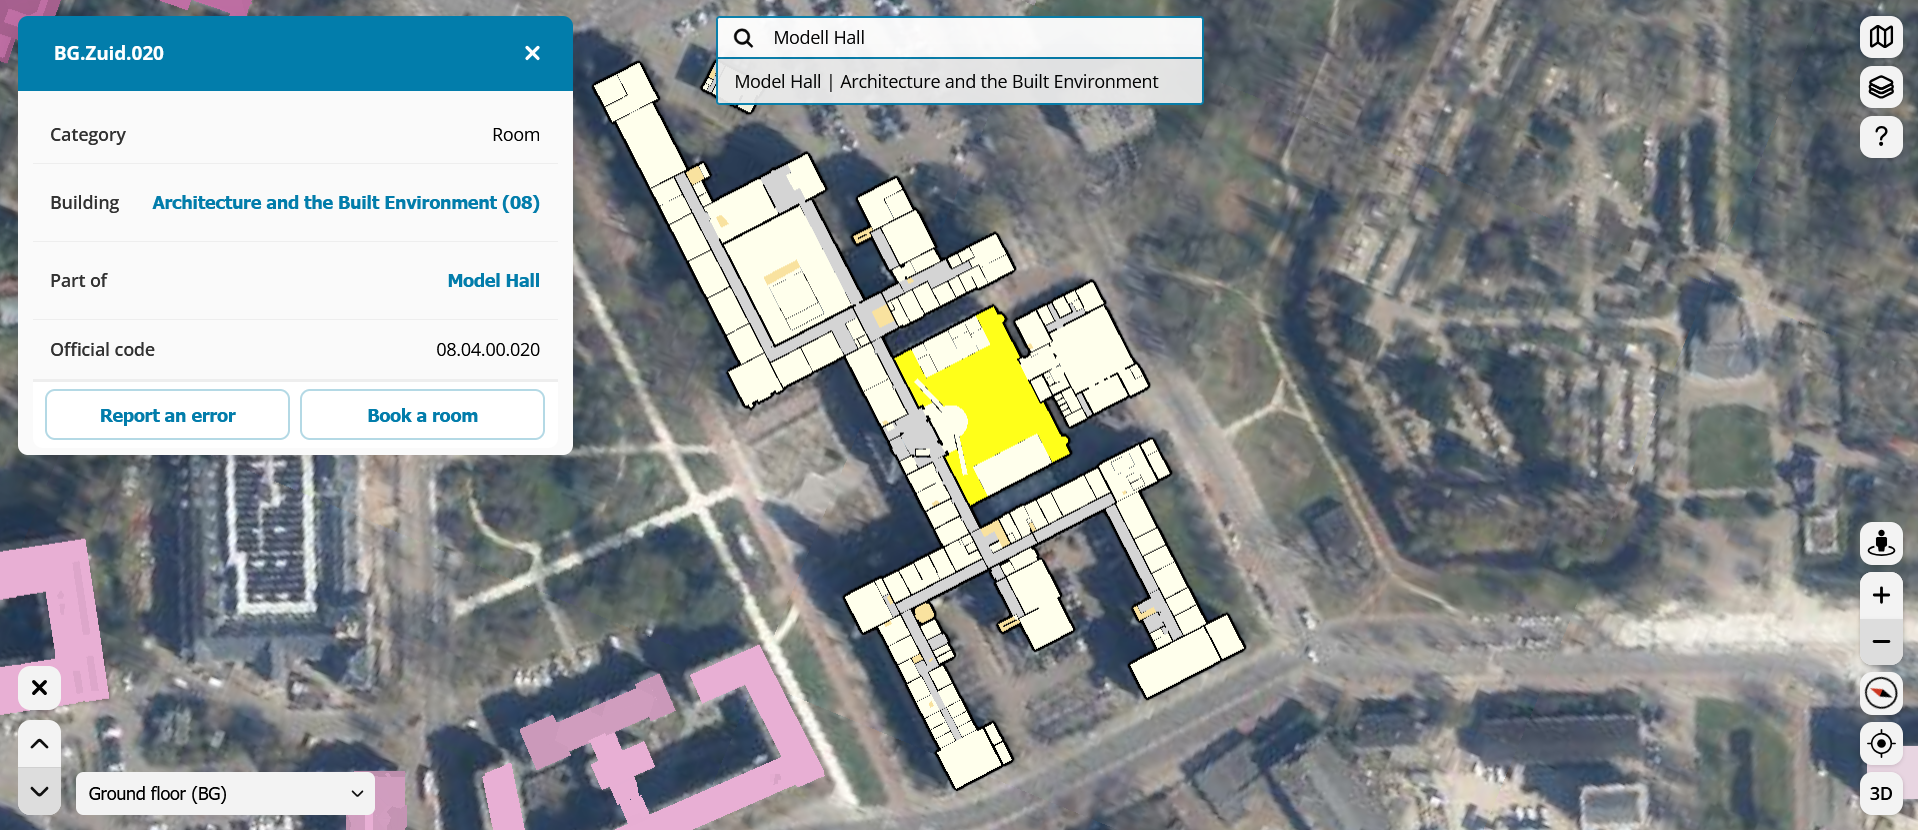
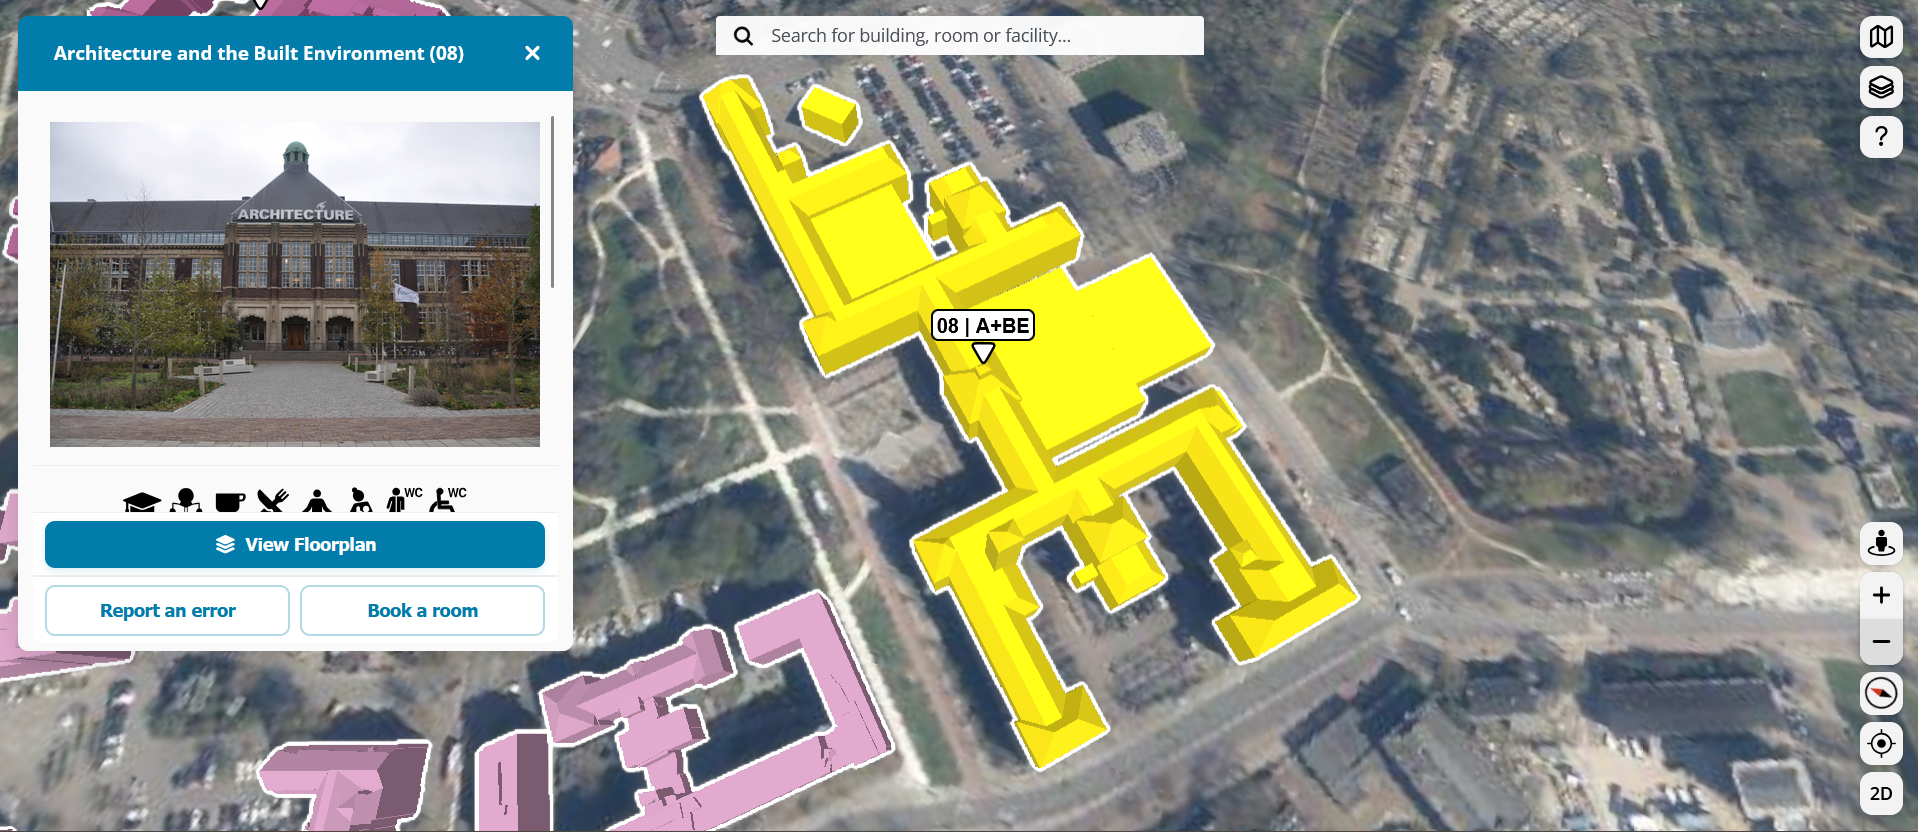
Select any building on the interactive map to reveal more details. A building will be highlighted in yellow, indicating your selection, and an information panel of the building will appear.
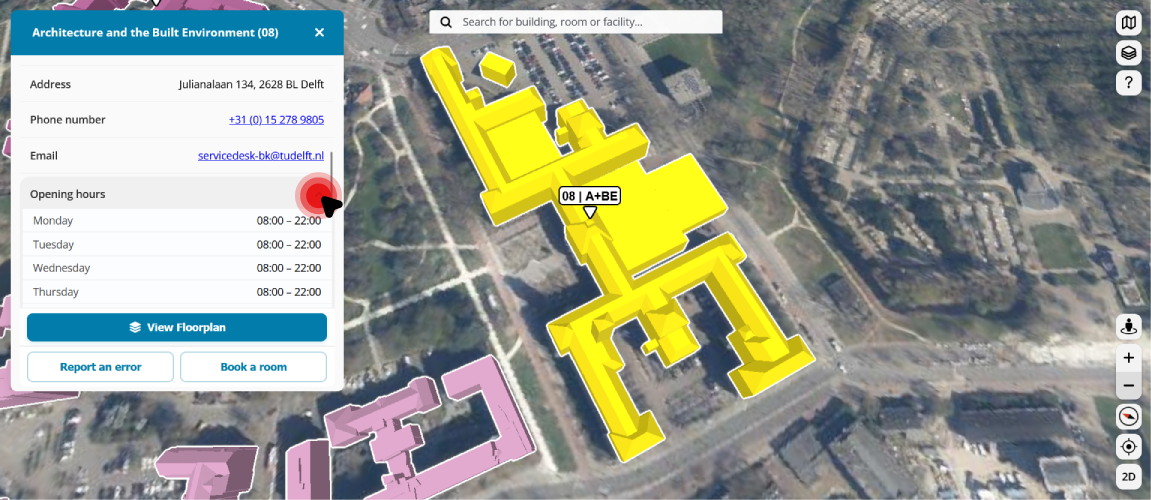
For more detailed information, you can expand the tabs, providing essential data such as the building name, address, and quick links.
To see the indoor information of the building, click on "View Floorplan" button to open storey-navigation controls and see the inside.
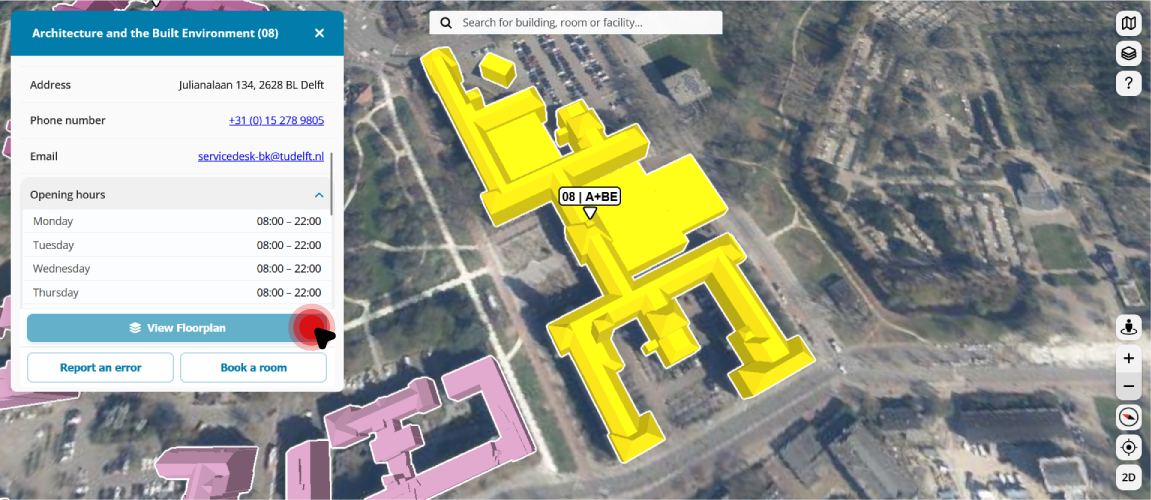
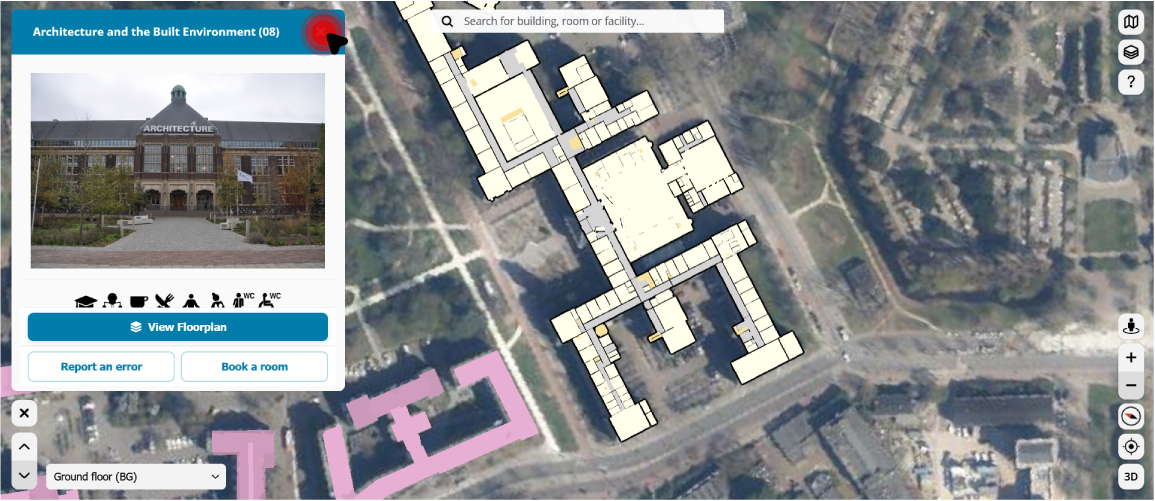
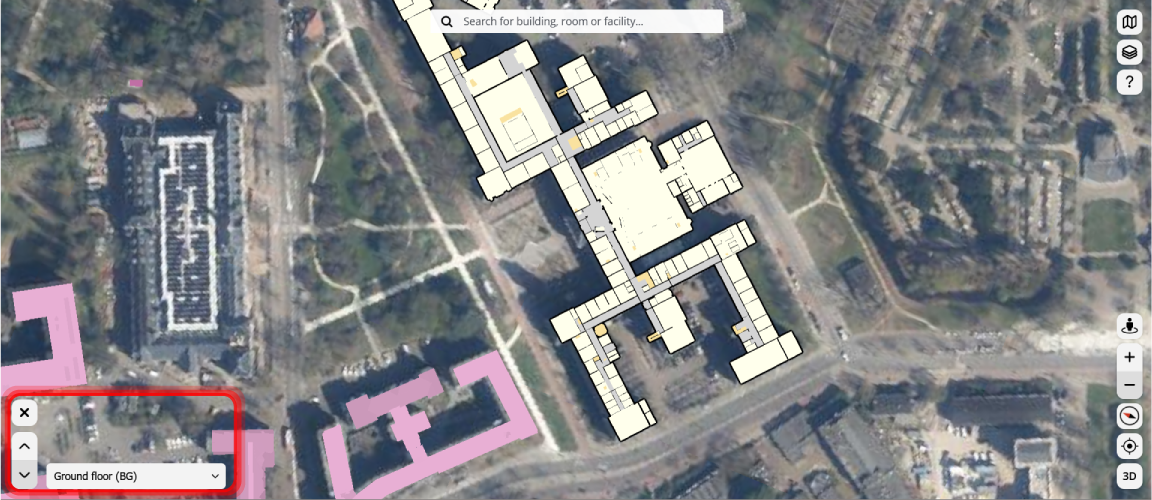
Once interior view is activated, the storey controls will appear so you can navigate between different floors of the buildings.
The controls also work if you choose to close the information panel.
Once clicked the interior pane turns off and an original building information panel will appear again.
Move up or down in the floorplan view per each floor.

Click on this button and select a specific floor from the options in the drop down menu.
In the floor plan view, you can search for a room, or click on a room, upon which a relevant information pane will open.